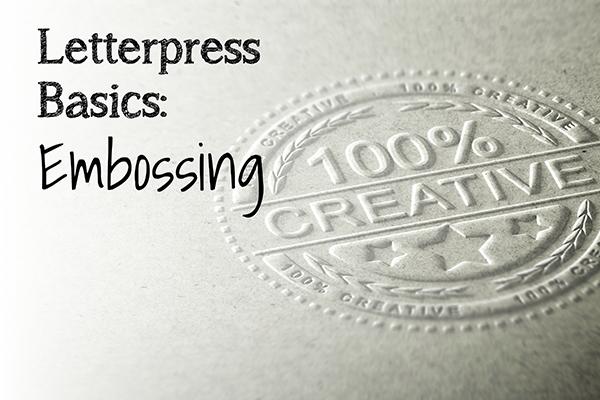
Embossing is raising the surface of your design so it has some depth. Embossing is done by pressing a sheet of paper into a “female” die with a design engraved or etched into it. This is usually done with a “male” counterpart underneath the paper so the paper is sandwiched between the two and the design is transferred.
While embossing technically refers to a raised surface, embossing can also be done to create a depressed design in a surface, referred to as “deboss.” For a deboss, the male and female dies are switched so the sheet is pressed with the male die and the female die sits underneath it. When a deboss is registered to printing, the appearance of engraving is created.
Types of embossing
- Blind Emboss: No ink or foil are used to highlight the embossed area. The change in the dimensional appearance of the material is the only noticeable difference, providing a clean and distinctive image on the paper. Blind embossing is best used to create a subtle impression.
- Registered Emboss: This process places the embossed image in alignment with another element created with ink, foil or with a second embossed image.
- Combination Emboss: This is the process of embossing and foil-stamping the same image. It involves imprinting and aligning foil over an embossed image. The process of embossing and foil-stamping is accomplished in one operation with the use of a combination die. The combination die has a cutting edge around the perimeter to cleanly break the excess foil away from the embossed area.
Designing for embossing
Create vector artwork for your embossed designs. Vector lines remain clean when output to film, virtually resolution independent. When you use raster art for creating a die, you end up with a jagged edge in the metal die that has a high chance of cutting through your paper.
The larger your embossed area, the deeper it will be. Conversely, the deeper you want your emboss, the larger you’ll have to make the embossed area.
Foil inherently looks better when it’s embossed. Foil reflects light and its surroundings. By giving it a bevel and edges, you’re catching light in various places across the surface.
Pairing embossing with complicated artwork (where the art that has depth, shadows and highlights) is almost always a waste of time. Your emboss will be lost in the artwork and it may look distorted by the emboss. There’s almost an inverse equation at work — the more complicated your artwork, the simpler your emboss should be. And the more complicated and intricate your emboss design, the simpler your artwork should be.
Emboss is the last step of finishing your design. The design may go through other steps, such as folding and glueing, but actual finishes end with the emboss. You can’t laminate an embossed surface and you can’t spot gloss or matte an embossed surface. Think with this when creating your design.
Working with your printer
As with die-cutting and foil-stamping, it’s crucial to establish a good working relationship with your printer, such as the team at West Press. You can avoid production pitfalls by showing your layouts to an experienced embosser early on. For example, because embossing is the last step of the finishing process, it’s very important that registration is kept in mind, especially where the emboss will register to the printing.
From foil stamping and die cutting to embossing and creative pocket folders, our knowledgeable employees can assist you in choosing the best way to complete your project at a competitive price. Contact West Press or your Account Executive at 520-624-4939 today.

