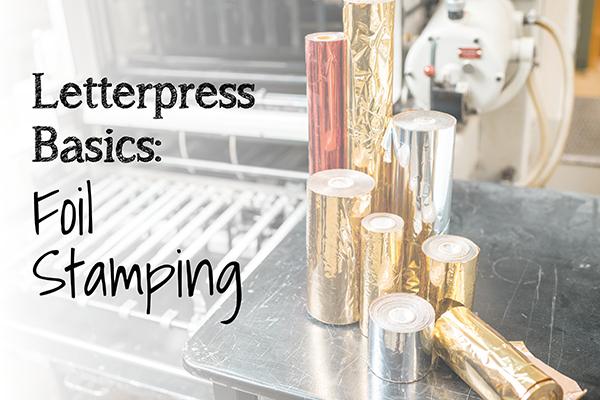
Foil stamping is a process that uses a die that has been engraved with an image of the desired design to be stamped. The die comes in contact with the foil and transfers a thin layer of the film onto the surface. As the die is heated, the adhesive on the back of the foil melts and presses into the paper. When the pressure is backed off, the foil cools and sticks to the surface of the paper where the design of the die leaves the desired imprint. The result is a finished piece with a highly reflective image.
Foil stamping is a great way to use dark paper stocks without compromising design or readability of the piece. It works well with minimalist designs as well as highly embellished ones. Since the foil is actually a film, the effect of white type on black paper stock works well when using a white gloss/matte foil as opposed to white opaque ink – which will usually require at least two hits to achieve the desired effect. Metallic foil stamping tends to have a more pronounced effect than printing metallic inks on paper. The type of paper (coated vs. uncoated) will affect the results of metallic ink greatly. The technique also lends itself beautifully to embossing and debossing.
Working with your printer
As with die-cutting, it’s crucial to establish a good working relationship with your printer, such as the team at West Press. You can avoid production pitfalls by showing your layouts to an experienced stamping supplier early on.
Design considerations
Use line art, keep away from folds and avoid type smaller than 8 point. Tight, intricate detail may plug. Smooth, coated stocks are often your best choices, with cover stocks generally yielding excellent results for foil stamping. Here are some other things to consider:
- Typesetting: In general, larger text sizes work better. “Fill In” is a term used to describe bridging between two characters, which affects the legibility of the text and overall appearance. However, copy sizes that are too large present problems on textured stocks, with “air entrapment” that can cause the foil to not adhere to portions of the desired area. Finally, because typefaces generally appear bolder when foiled, don’t track or kern too tightly. It is a good rule of thumb to set type loosely and with more leading than you might ordinarily consider.
- Solids and fine lines: If you are designing large solid areas of foil as well as fine detail in the same piece, expect to make two passes with the press. For a quality stamp of areas designed with intricate detail, be sure the space between the lines in the design is no less than half the thickness of the stock you are using.
- Foils and laser printers: Although many foils have a wide temperature range, not all foil can successfully run through a laser printer. Use caution if selecting dry, textured, parchment and recycled stocks because the low adherence properties of many of these stocks can cause the foil to release, crack, peel or dull under the heat extremes of a laser printer. If in doubt, ask a test to run through the printer.
- Registration: If the design calls for tight registration of foil to print, foil to foil, or UV coating and varnishes, consult with your stamping supplier for production specifications. Unlike offset printing, foils with tight registration are “kiss fit” or butted to the images, so do not use trapping techniques on artwork next to or inclusive of foils. Tight registration may also require additional production charges.
From foil stamping and die cutting to embossing and creative pocket folders, our knowledgeable employees can assist you in choosing the best way to complete your project at a competitive price. Contact West Press or your Account Executive at 520-624-4939 today.

